3D CHARACTER ANIMATION – DEVELOPMENT LOG 2 (Ik Handles & Weight Painting)
The next step in the rigging process was to finish off the rest of the IK handles and controllers for the torso and head.
I first created an IK spline handle from the hip to the top of the spine to create a realistic spine movement. With that completed, I then create a Nurbs Curve and used point constraint to bind the handle to the controller. I also made sure to orient constraint the curve to the handle to prevent the joint from being rotated out of place.
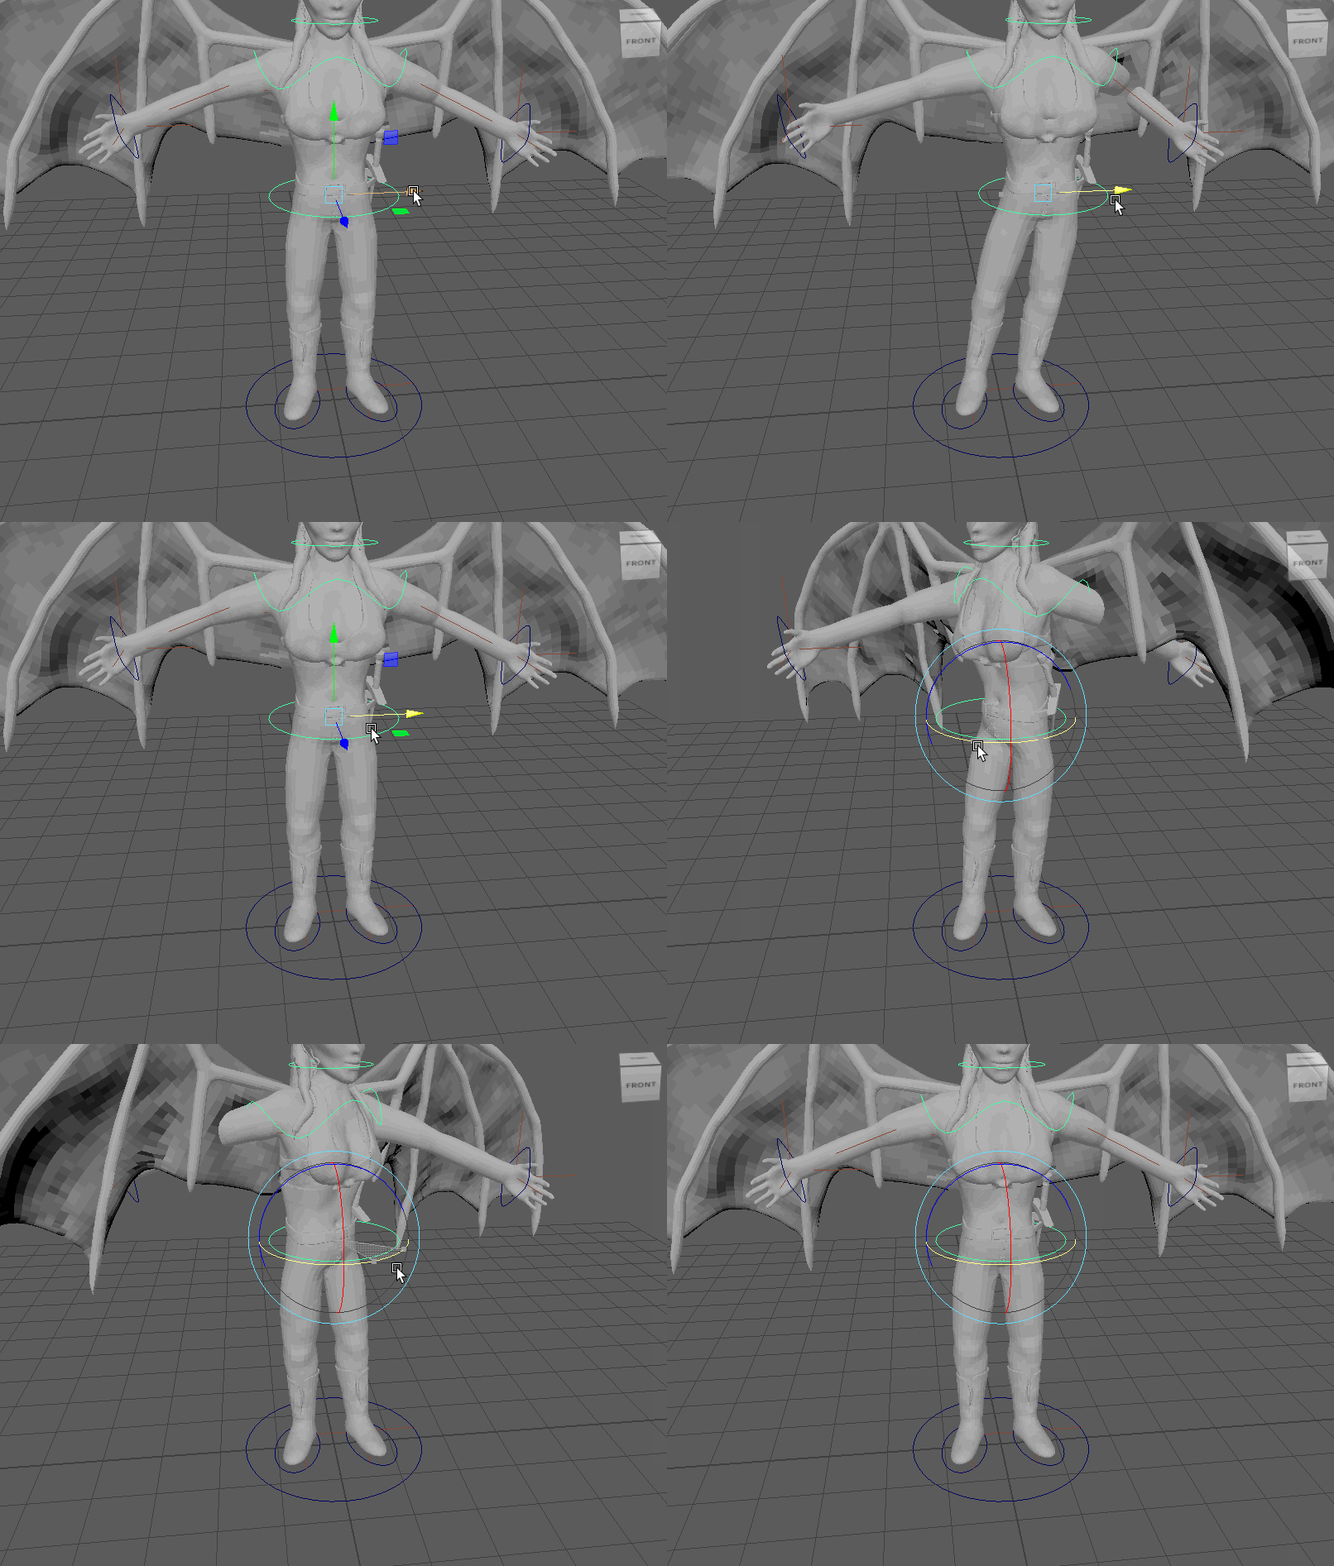
With that working successfully, I moved on to doing the upper body and head before I could weight paint and fix some of the stretching issues as well as the unnecessary skin pulling. The issues with the skin pulling continued with the upper body and won’t be fixed until I weight paint.
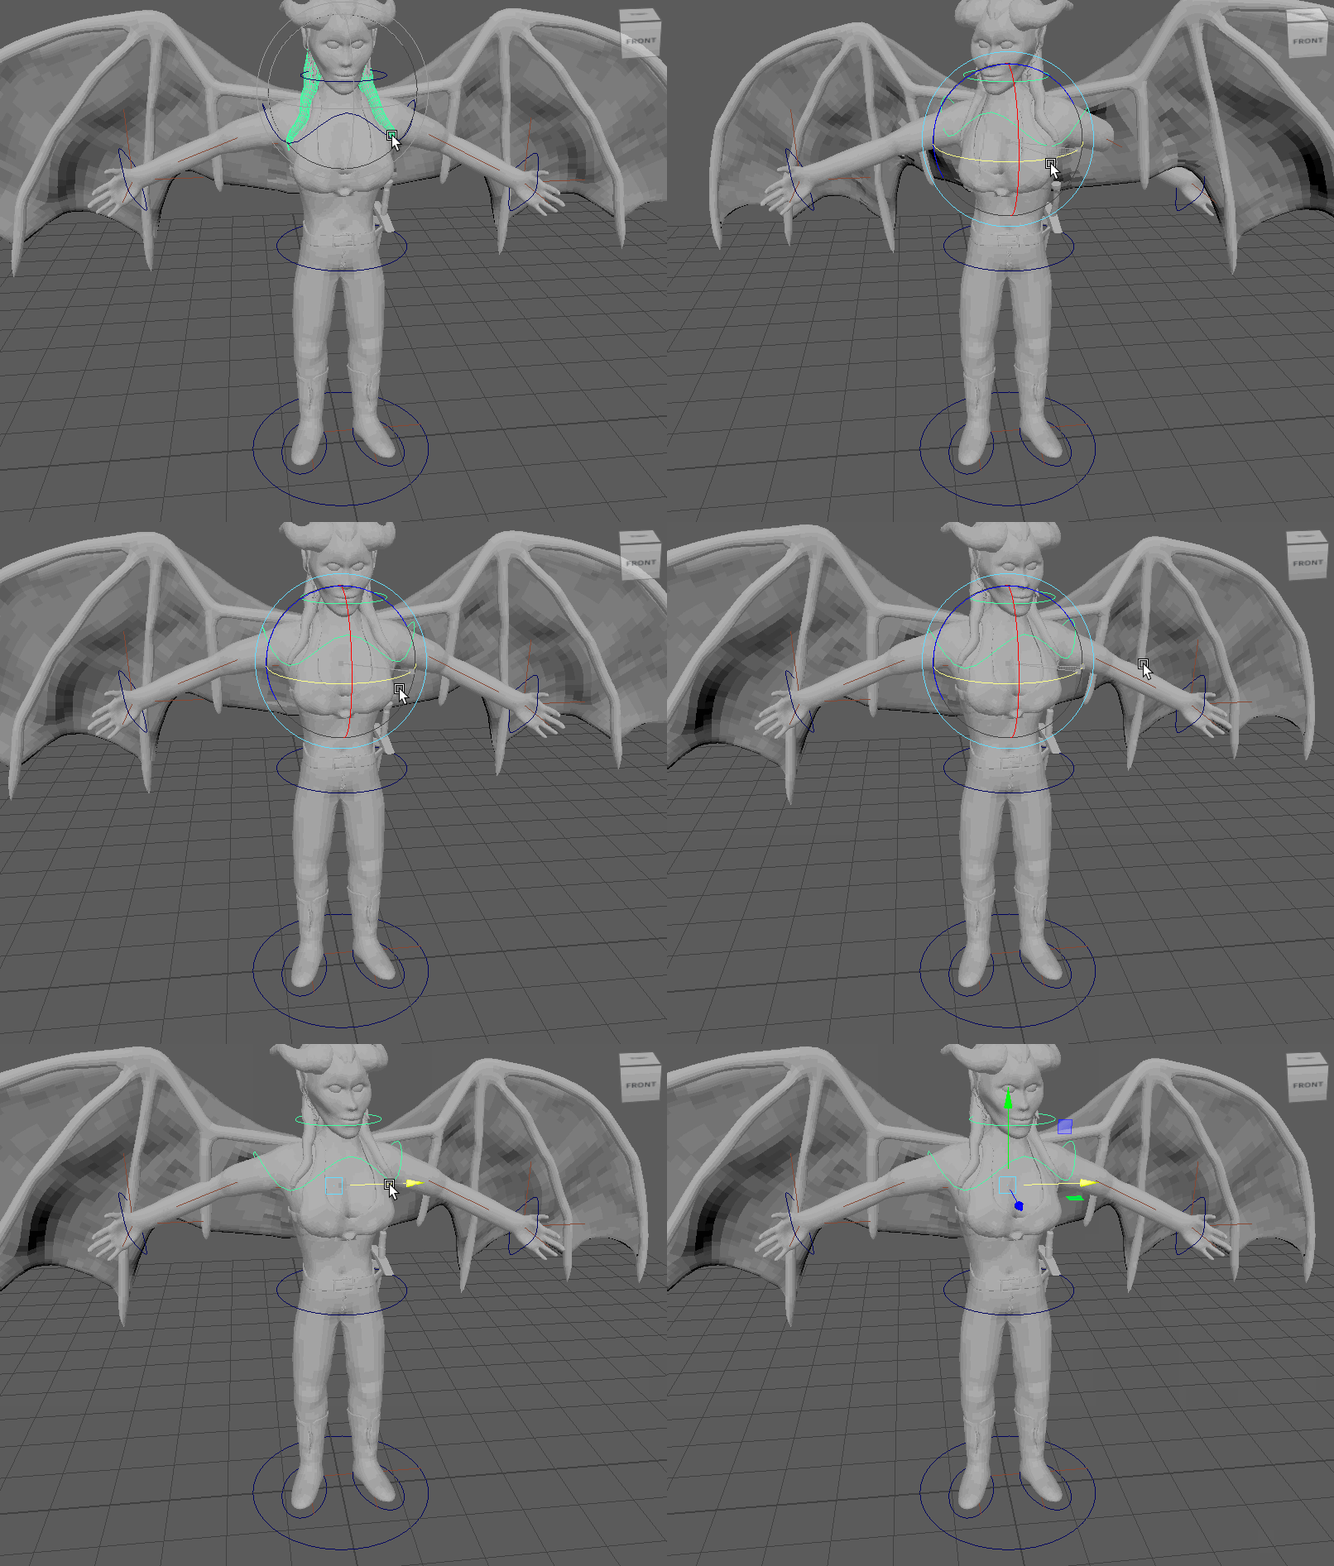
Upper Body 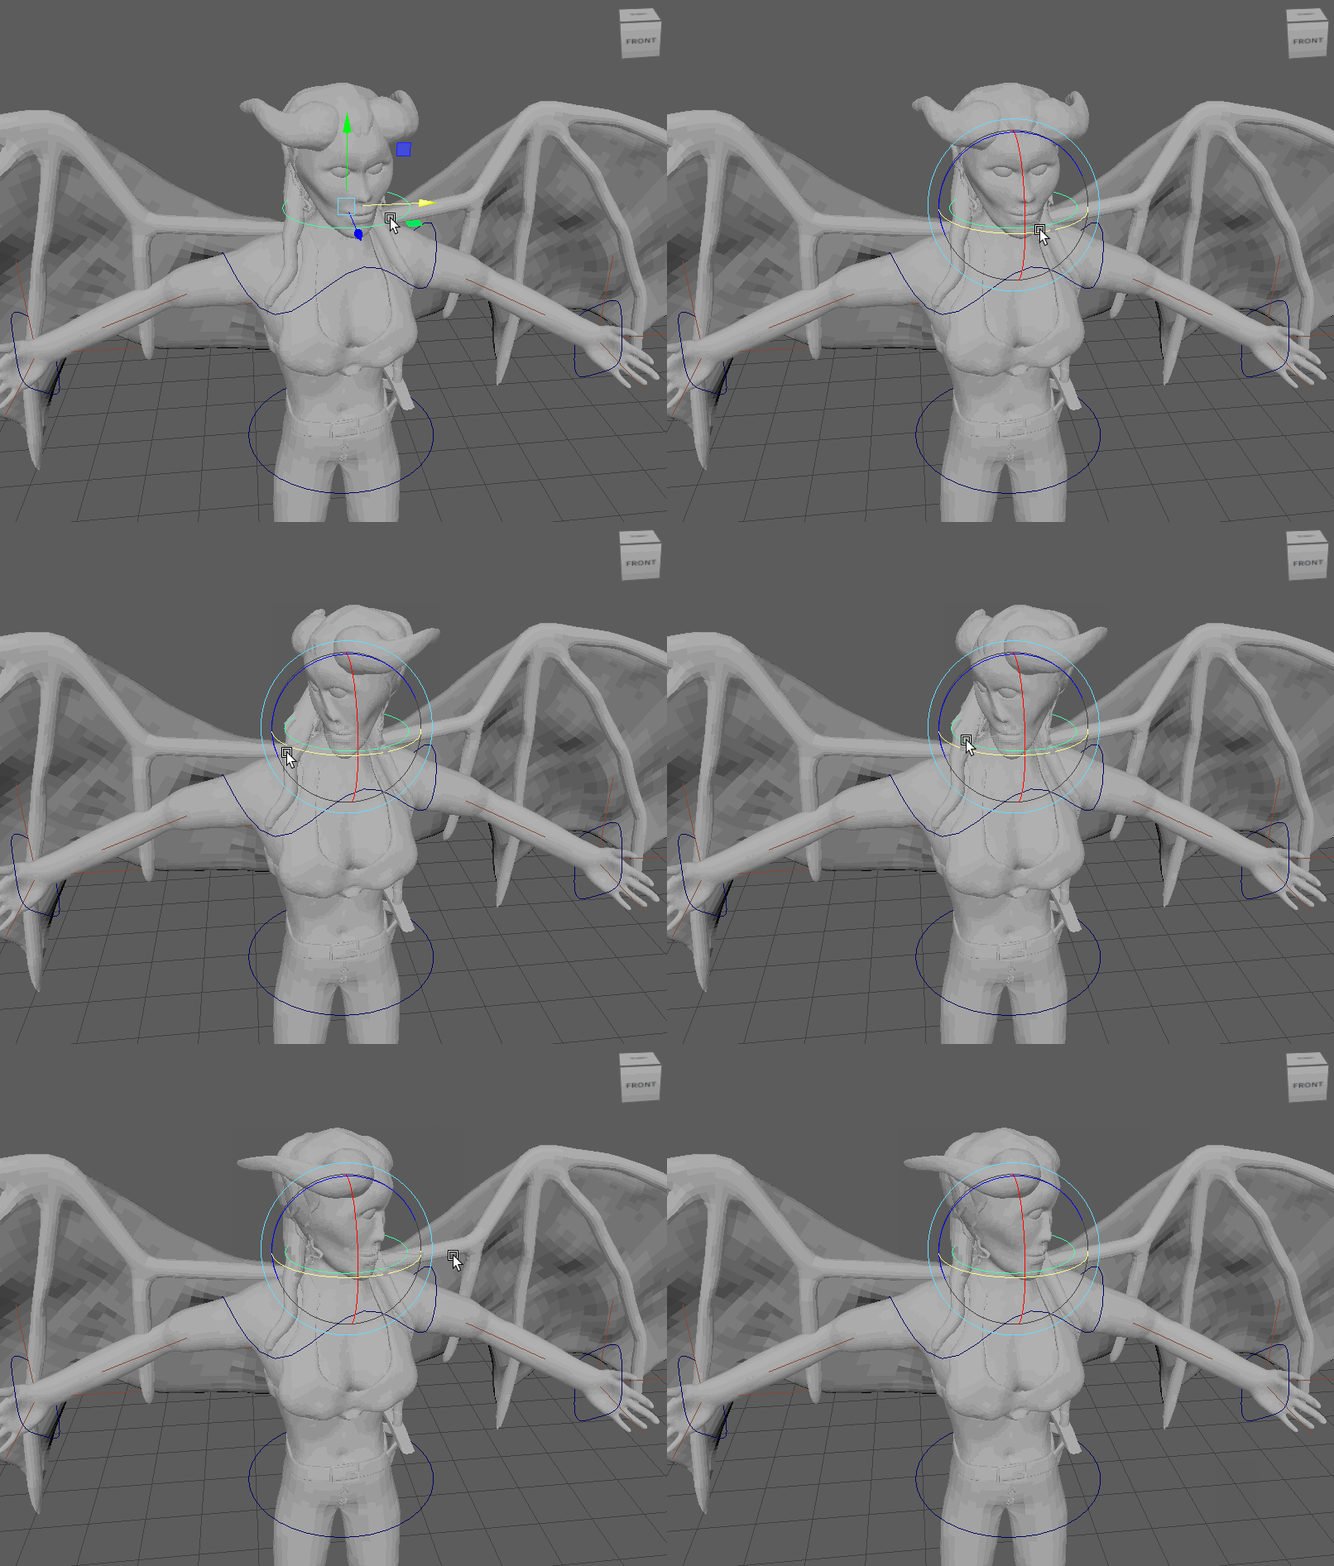
Head
I then began weight painting just to try out this tool as I’ve never used this before. Overall, I was impressed with how easy it was to use. However, I did come across a little trouble when weight painting as my mesh is split into different groups, therefore it was sometimes hard to tell which group I was weight painting. I eventually completed the weight painting for one of the arms and it seemed to be working fine as the arm had very little influence on the main torso when it was moved. However, I still left some weight on the shoulder as this is the natural stretch of human skin. I made sure to make sure the movement of the arm had no influence on the wings as this would pull the skin unnecessarily when the arm joint would move
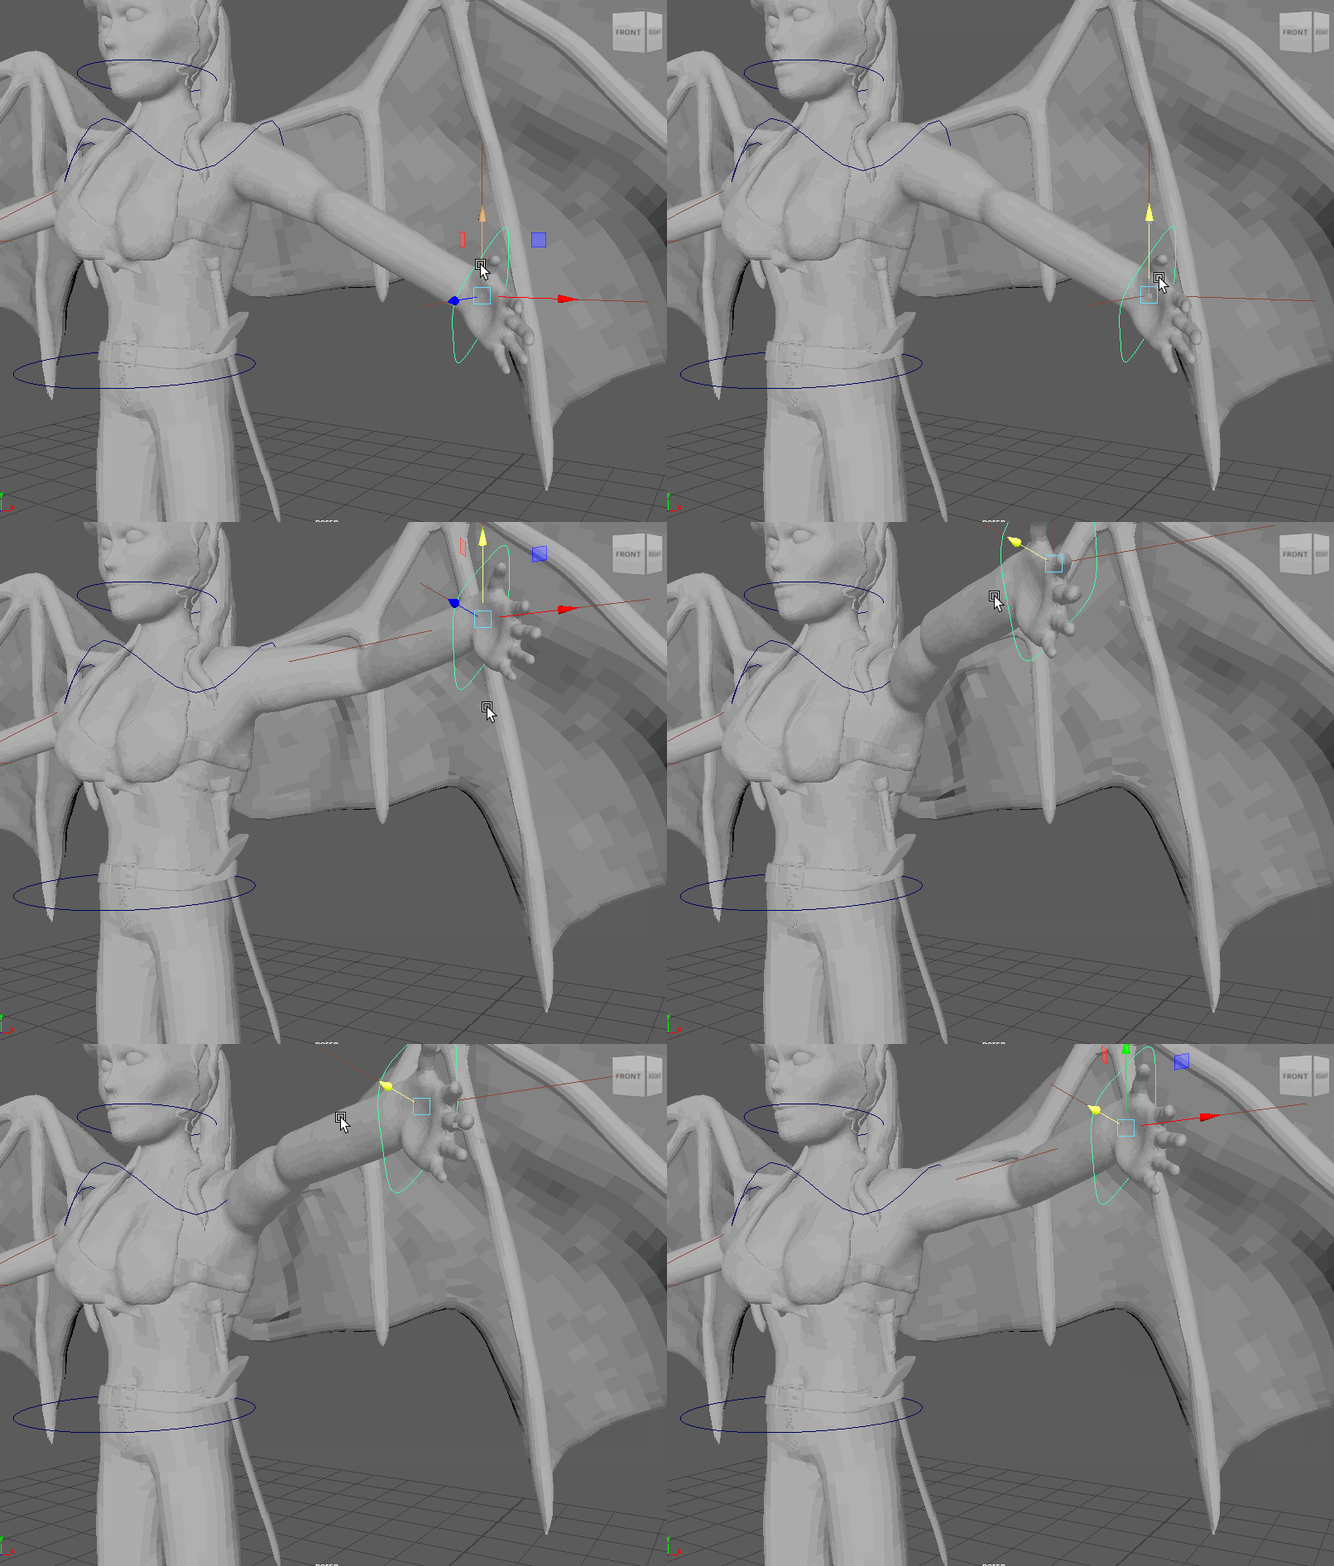
non-weight painted 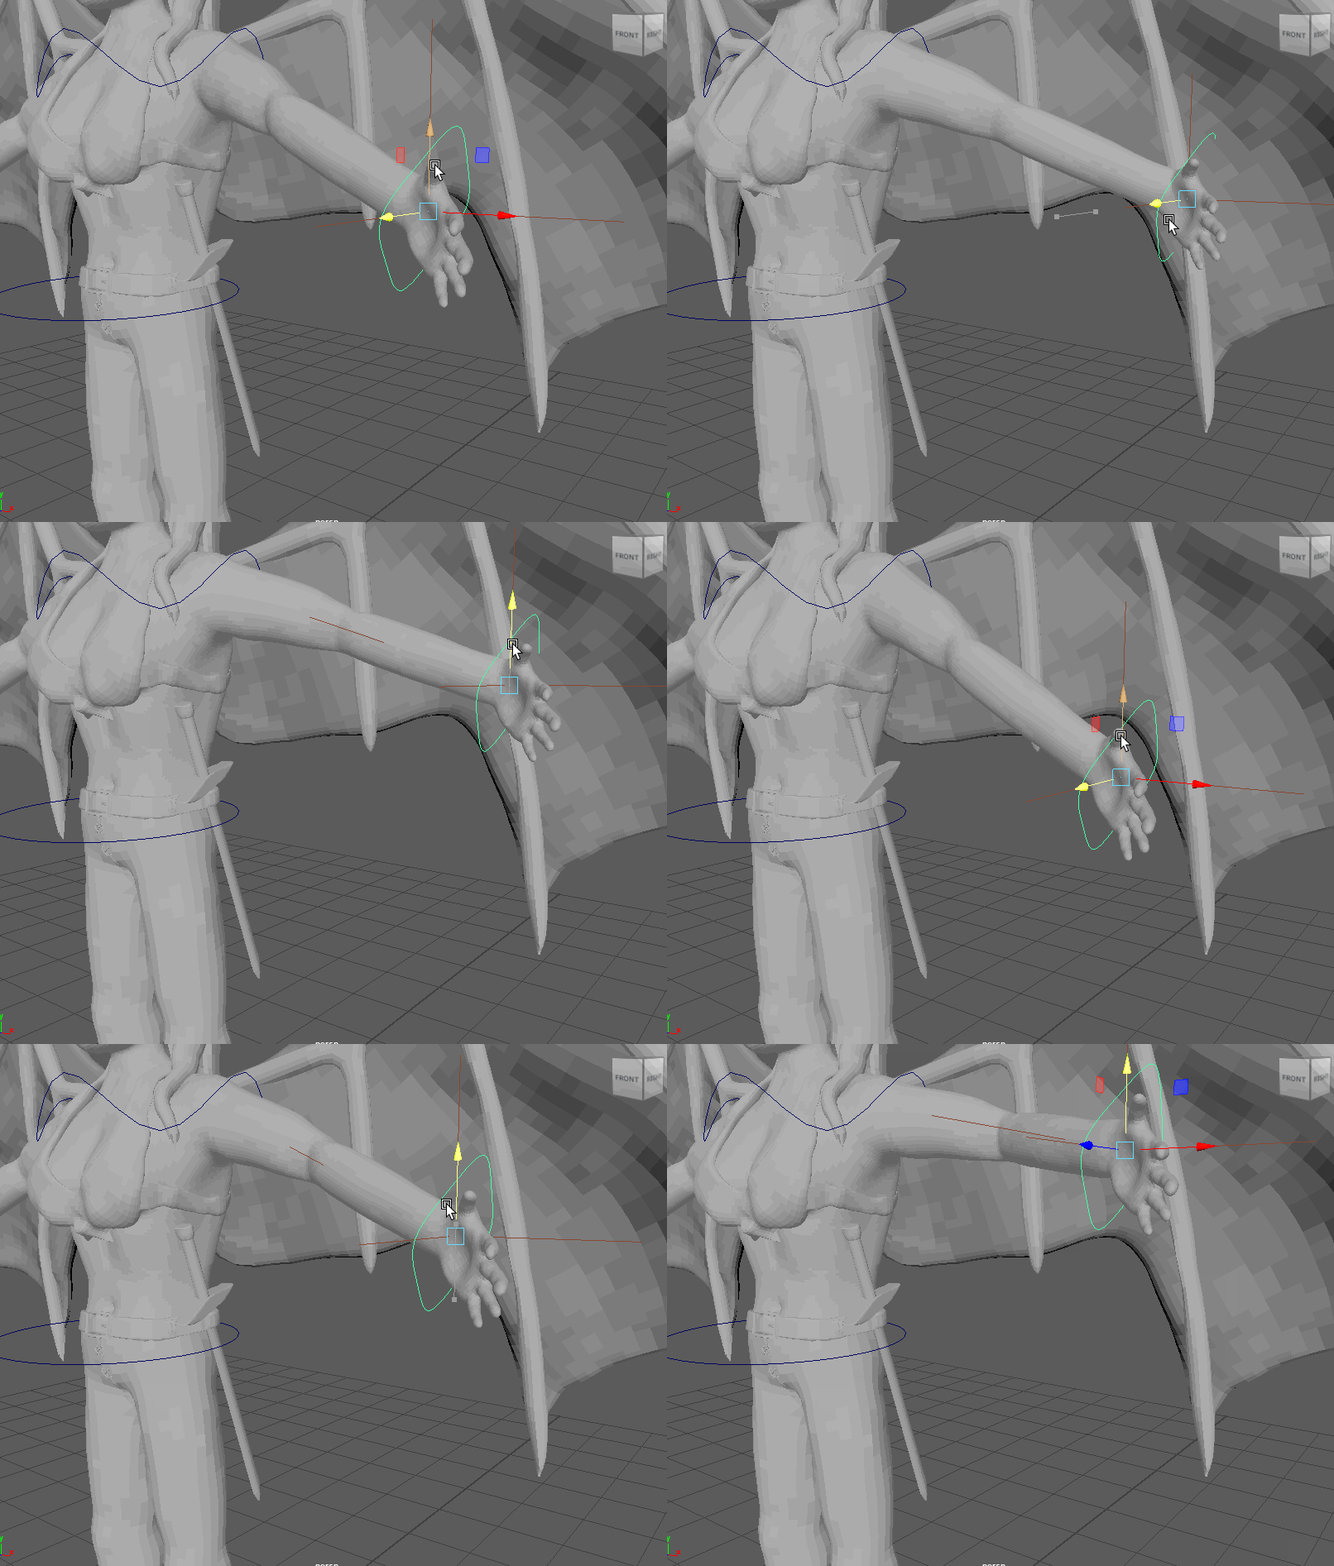
weight painted
With the arm weight painted, I moved onto the head as there was a lot of stretch when the head was rotated on the neck. I began by flooding the horns and head as these would be rotating no matter how the head would move. However, when it came to weight painting the hair I had trouble smoothing the gradient off to reduce the splitting you can see in the image below on the right.
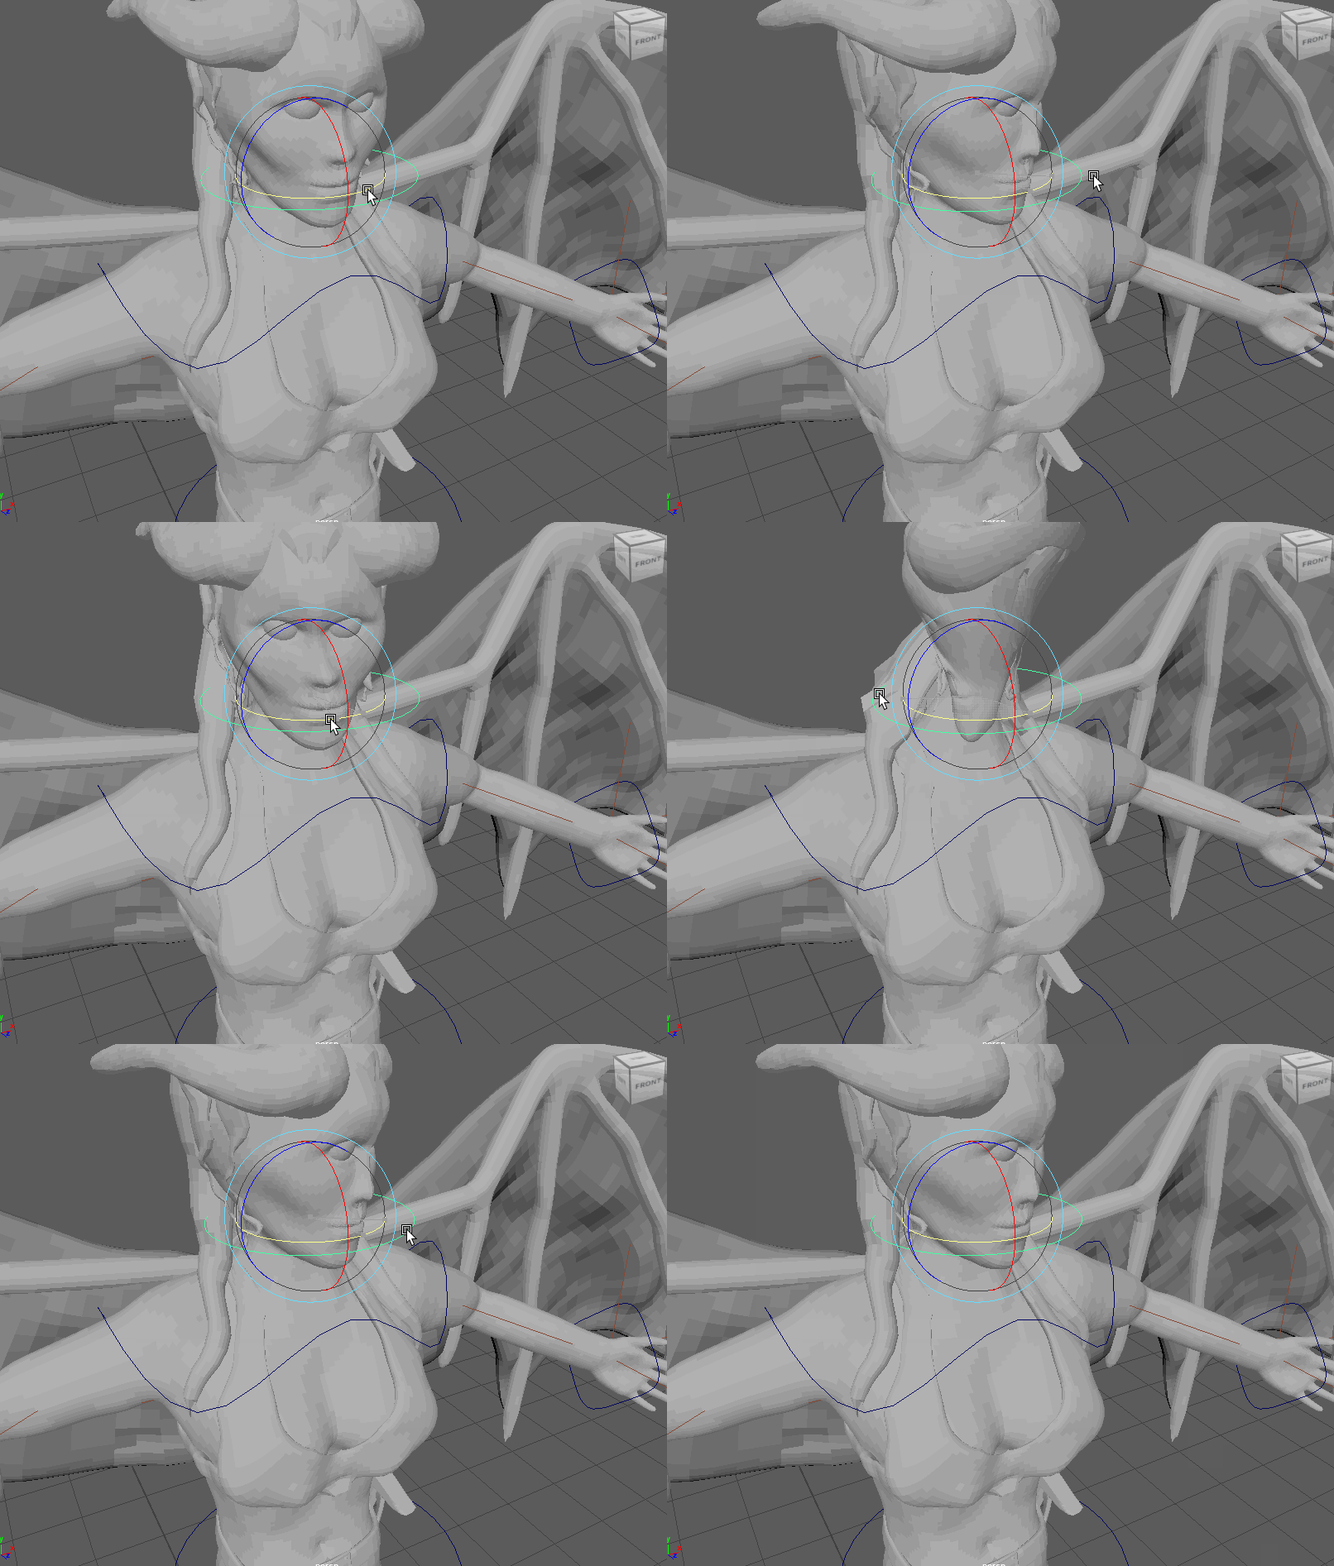
Non-weight painted 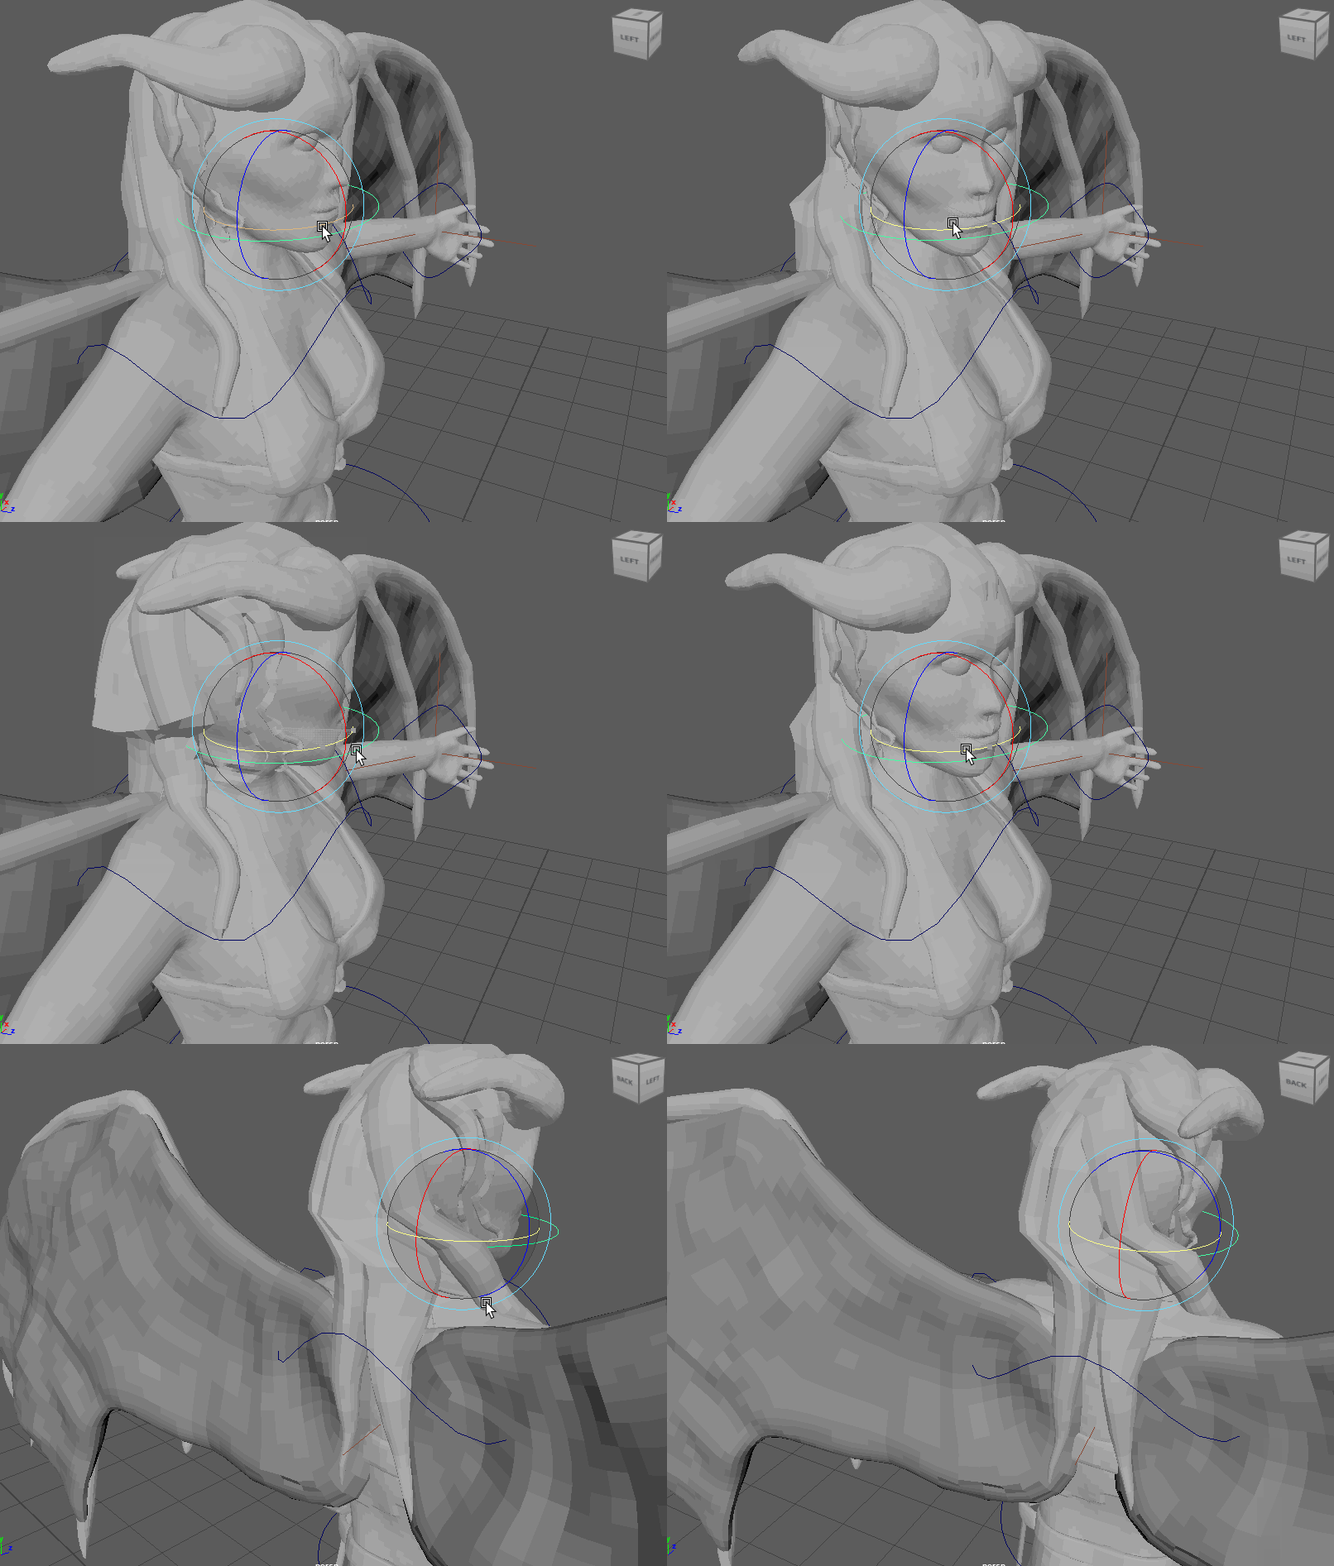
weight painted fail
When I got to this stage, I realised I made a mistake where the neck’s joint wasn’t centered properly which meant when I rotated the head, It would turn off-center which meant I had to go back and recorrect this by unskining and reskining the character model. This wasn’t an easy task to accomplish as when I attempted to reskin the model, the fingers and some other joints went slightly off where they were previously skinned to.
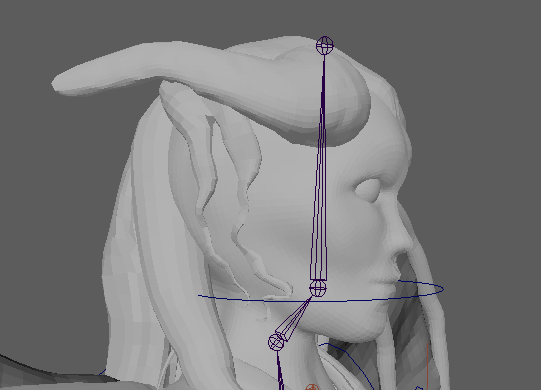
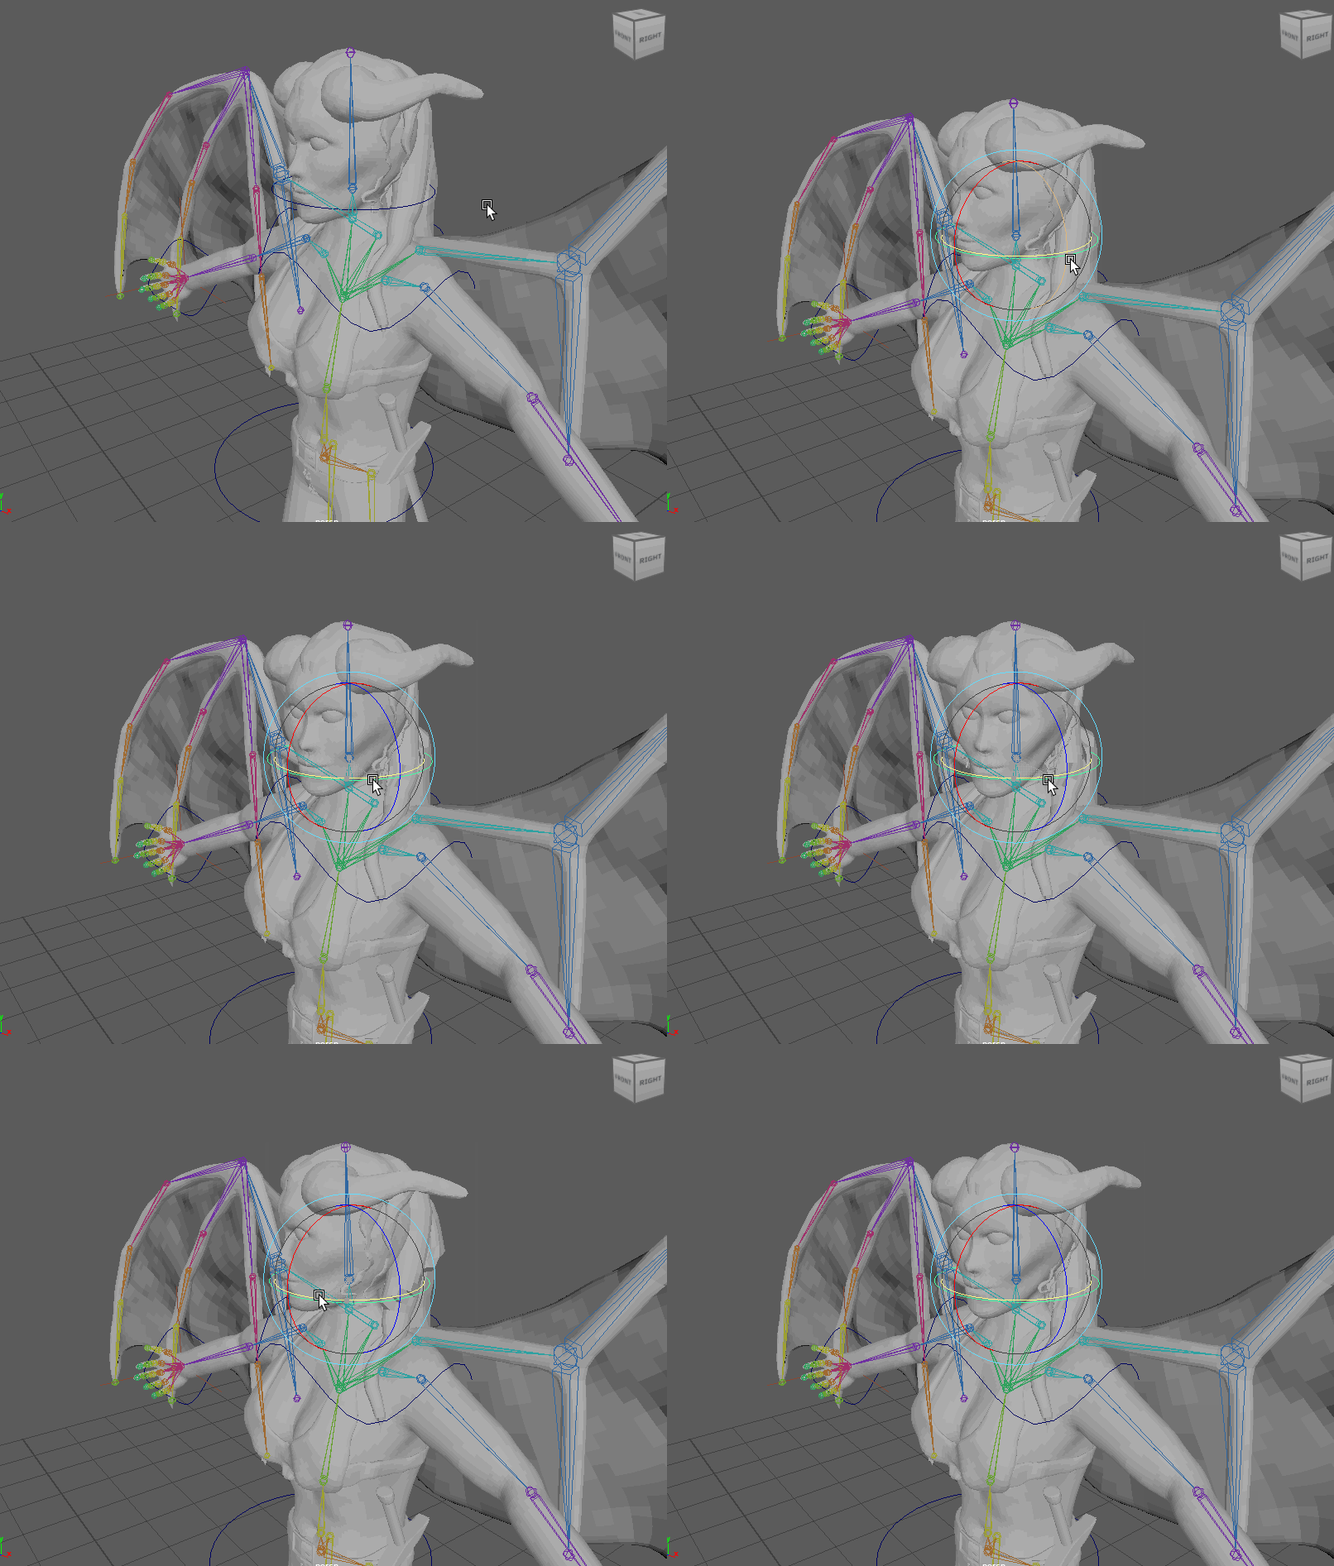
Once I corrected the head joint, it became much easier to weight paint as the skin at the back didn’t stretch too far. Not only this but also the joints became the rainbow colour they were supposed to be when the model is successfully skinned and rigged, whereas before the joints were still purple and orange which signified the joints were incorrectly rigged. However, I still had to weight paint the hair which still wouldn’t be easy as I want the hair to stay over the character’s shoulder.
