Development Log 3 (Asset and Level Design Concepts)
First Scene
Due to the fact that I have more knowledge in Unreal Engine 4, I decided to use this program instead of Maya. However, prior to beginning my project in Unreal Engine, I had to do some research regarding 360-degree render capabilities as I have never had to render in this format before. Despite Unreal having an official plugin for a 360-degree render camera, there is a substantial cost to the plugin. Therefore, after a bit of searching, I was able to find a free-to-use 360 Render Camera from OffWorld. Since I now knew I could successfully render my project in 360 degrees within Unreal, I was able to start finding assets and begin laying out my first scene.
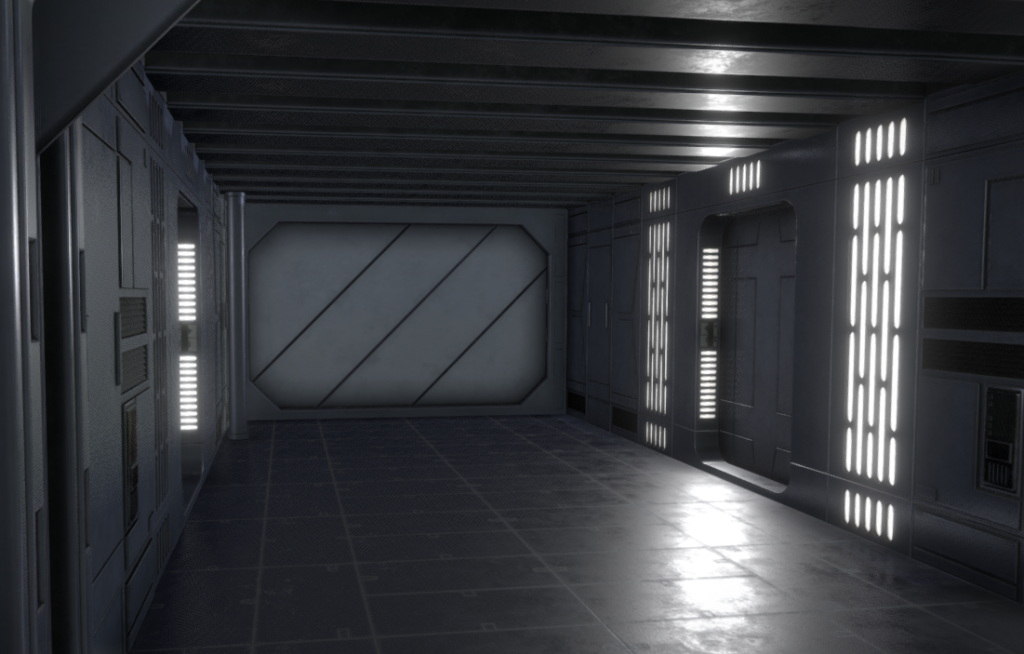
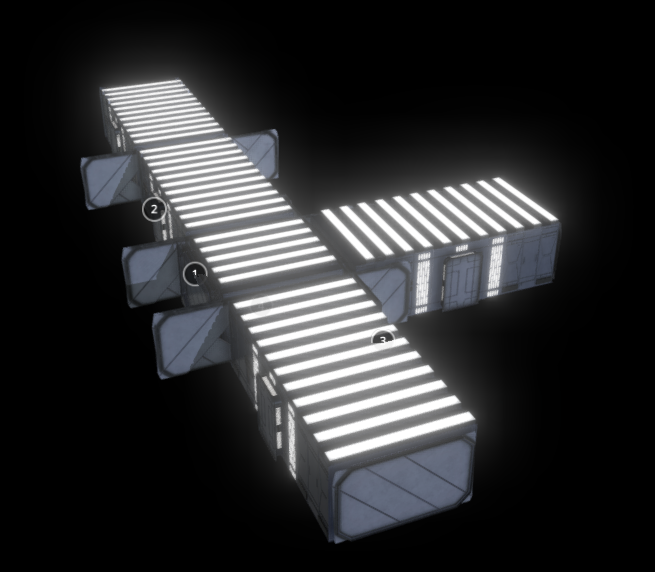
The first scene would consist of the user walking down a corridor leading to a window from which they can look out to see the hyperspace jump, therefore I required a spaceship corridor. Luckily, I was able to find a free model of a Starwars ship’s corridor which would be perfect for my opening scene. I decided to change the lighting slightly from the prelit asset as I am attempting to set a bit of a darker tone with my first scene.
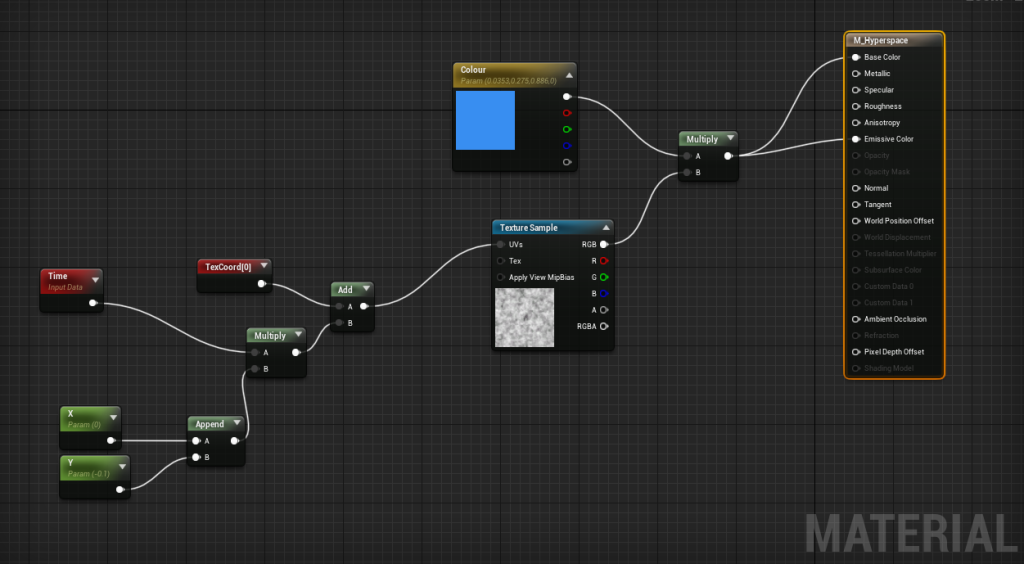
To create the Hyperspace effect which would be visible at the end of the corridor scene, I created a new material that would go on a cone model within Unreal Engine. To make the material ‘move’ I had to add a time node combined with an X and Y coords node. I then used the noise combine with the colour node to create the colour and texture I wanted. Once I changed the properties a few times I was eventually happy with the texture and began adding it to the sequence so it appears at a certain time.
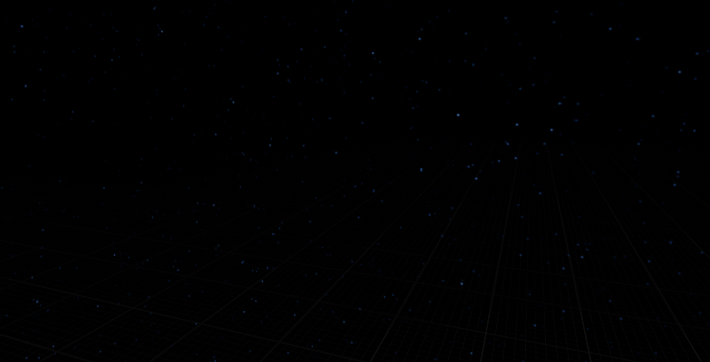
I also created a custom skybox to create the space effect that I wanted. I originally aimed for a more nebula-style skybox, however, this didn’t end up looking good and looked too blurry. Therefore, I decided to go for a more classic and simple space skybox.
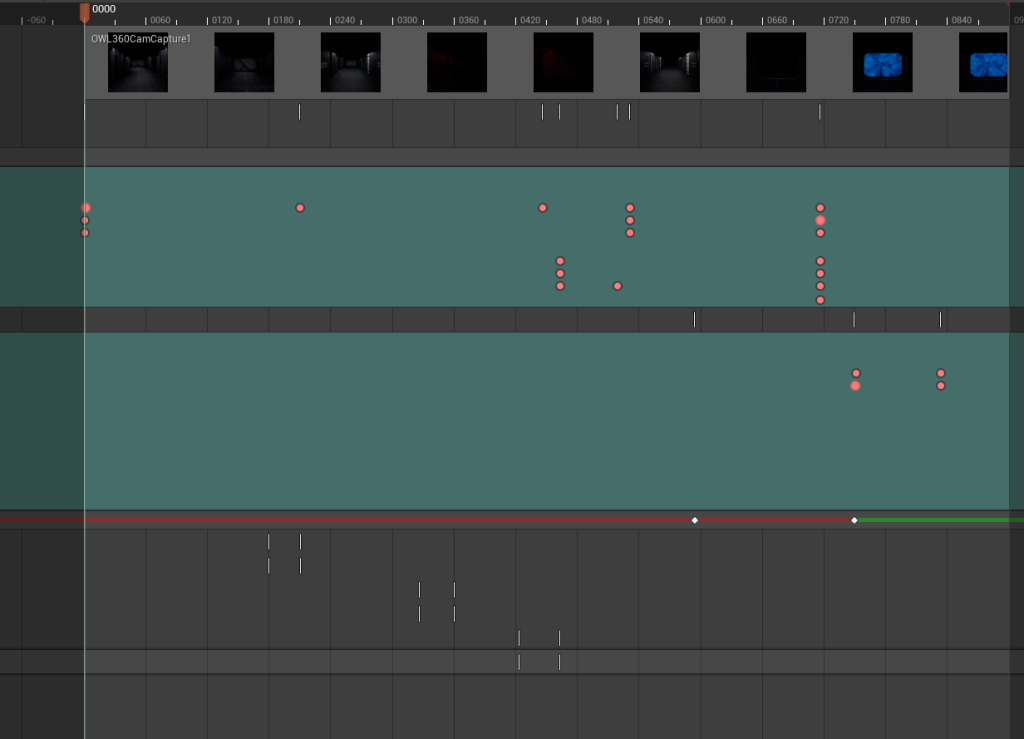
Once I had all my assets found and in unreal Engine, I was ready to begin composing my sequence. It was at first difficult to get the timing right of how fast to move the camera down the hallway as cybersickness was one of my main concerns and after a little tweaking to the timings, I was happy with the speed. To get the hyperspeed cone to appear when the user reached the end of the corridor, I used the keyframes to move the cone out of render distance and then made it reappear by moving it.
For now I decided to do a standard video Render of my project to see if everything was working fine with lighting, timings and anything else that may cause hiccups when it comes to my 360 render. Overall, I was pleased with the result and decided to start looking at how to create the 360-degree render to make sure everything would work once I got further into my design
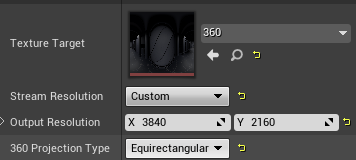
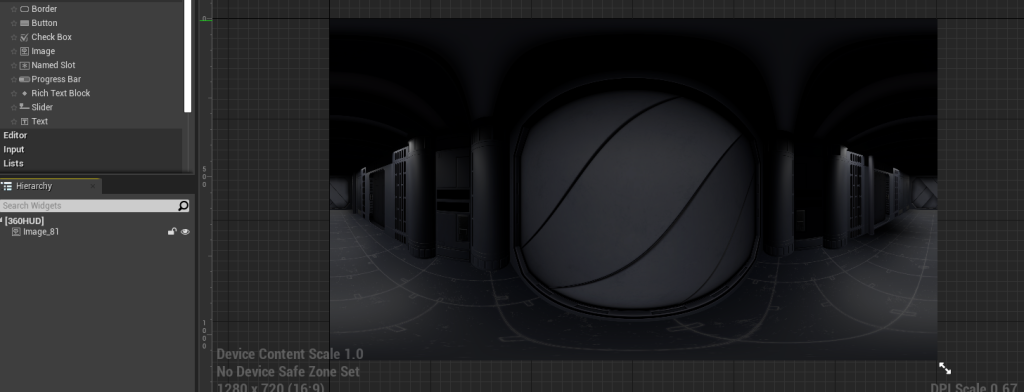
To begin my 360 renderings, I had to first make a material from the texture target on the 360 camera and change the output resolution to 4k (3840×2160) and the 360 projection type to equirectangular that creates the ‘fishbowl’ effect which I can composite in Premier Pro in post processing.
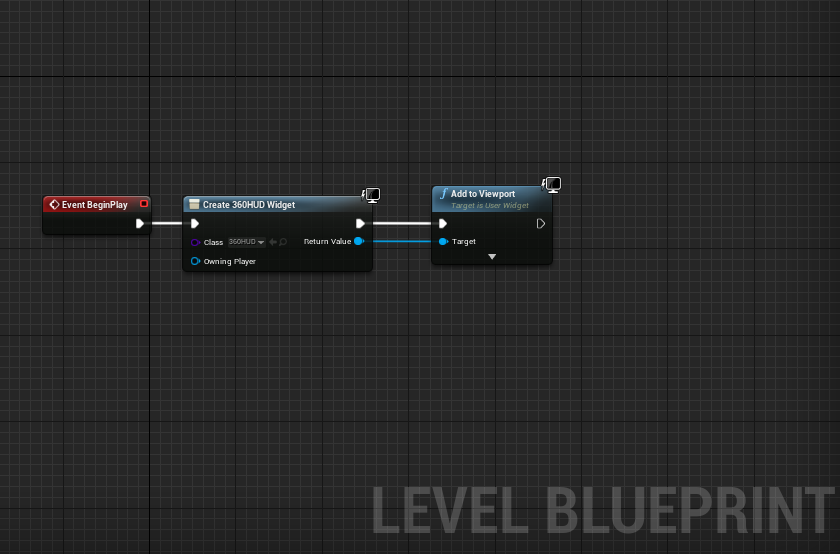
I then had to create a level blueprint where the material would get streamed live to the viewport once the level began
once I had changed all the necessary properties on the camera itself, all I had to do was replace the regular camera with the 360camera within the sequencer and replace the timestamps. I then rendered the video out to jpg then imported this as an image sequence into Premier Pro
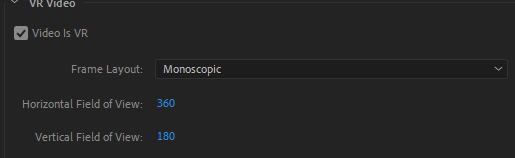
When exporting from Premier Pro to Media Encoder, I made sure to tick video is VR and change the frame layout to Monoscopic.
Once I made all these changes and uploaded to youtube, I had successfully created a working 360 render that is moveable.
Second Scene
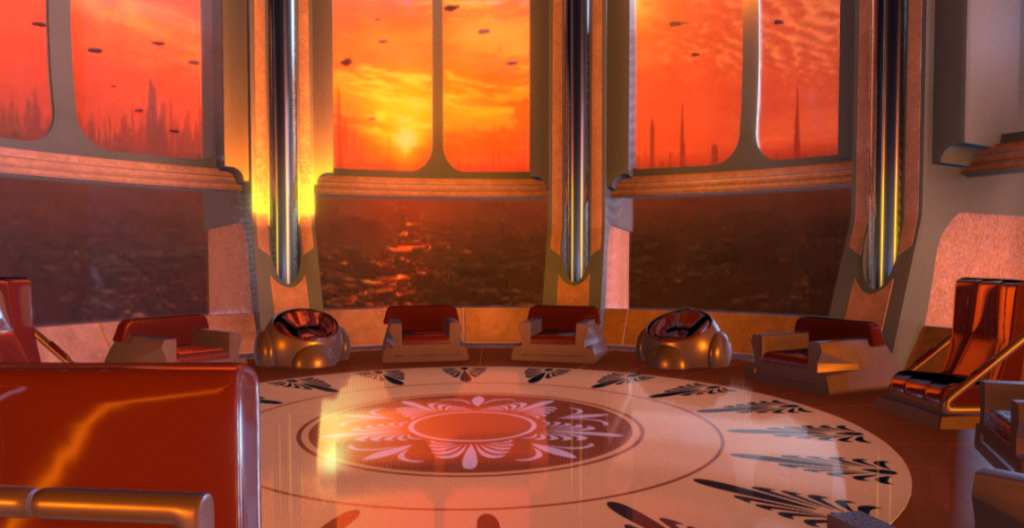
For my next scene, I originally had the player moving down another corridor leading to the Jedi Council room. However, I struggled to find the necessary assets needed to do this therefore I simply took this section out and decided to make the project longer at the end after the scene in the Jedi Council room. I managed to find an exact replica of the Jedi Council Room for free use which would work perfectly for my scene as it allows me to use all 360 degrees of rotation to tell the story. Here, I will have dead bodies and scattered lightsabers along with some things that will be on fire to show how it has been destroyed and something bad has happened.
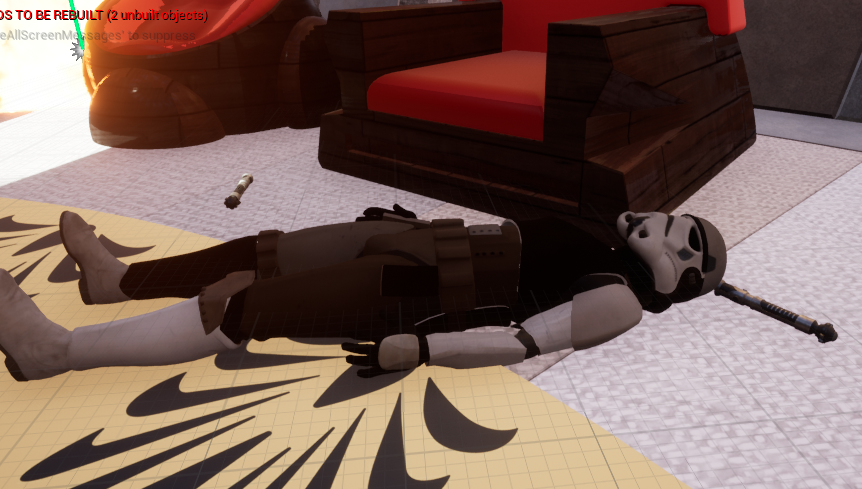
Within this scene, I will have a lightsaber be pulled to the user, imitating they have the force. Once the user has focused on the saber for a while, it will ignite and slowly fly around the room to get them to look at the destruction. It will then be pushed into one of the dead bodies lying on the floor which will end this scene. I was able to find a high poly stormtrooper and lightsaber which will work nicely to decorate my scene. I decided to dis-colour the stormtrooper slightly to show some wear and tear to show that there has been some sort of battle happening.
As this is a new unreal project, I had to repeat the steps I took for the first scene to get the 360 camera working. However, Once I rendered it out and uploaded it to youtube, there was an issue where half the scene wouldn’t be visible and would be cut off. The reason for this is that when exporting from Unreal Engine to Premier Pro, the two had different resolutions. Luckily, this was an easy fix and I was able to get it working after changing a few properties.
Third Scene
For my third and final scene, I would have the user returning from their vision to the spaceship as they are leaving hyperspace. I would then have both lighting and audio queues for the user to turn around. These would be the lighting turning to red and flashing and an alarm playing. After a while, a breathing sound is played and the doors open to reveal Darth Vader standing in the darkness with his light saber ignited shortly after. The scene will then cut to black with sound still playing as the scene ends.
To design this, I simply used the same scene as my first, however, as you are unable to have 2 360 render cameras in one scene, I had to duplicate the project and continue from there. To change the lighting, I simply timestamped the lights to change colour, then turned their intensity down to make them flash.
I then made a simple lightsaber using Unreal’s shapes and used an emissive material to make it stand out and glow in the darkness. I was happy with the way this turned out as you can’t see his face but the darkness and sound are all you can hear which gives off a really sinister feel and will hopefully make the user feel scared in this moment.
Render without sound
Once I rendered all three scenes I was happy with the result and was ready to start adding the sound
ShineyFX (2021) Star Wars Venator Prefab [3D model] Available online: https://sketchfab.com/3d-models/star-wars-the-clone-wars-venator-prefab-8a1e1760391c4ac6a50373c2bf5efa2e
olcaytoibili (2023) Jedi High Council Chamber [3D Model] Available online: https://sketchfab.com/3d-models/jedi-high-council-chamber-9d4b75aae8d648d28ea9038531eaf240
ivamargar (2017) Obi Wan Kenobi Lightsaber [3D Model] Available online: https://sketchfab.com/3d-models/obi-wan-kenobi-lightsaber-50cb1f907d18485e9615b16708a3fbbb
HarrisonHag1 (2021) Darth Vader [3D Model] Available online: https://sketchfab.com/3d-models/darth-vader-15c6b612a5834924b0959261aa89e80f