3D Character Design | Development Log 3

Upon the first attempt at modeling the head shape, I disapproved of the way it turned out. Therefore, I re-attempted the structure using references side-by-side with my model as I sculpt the shape

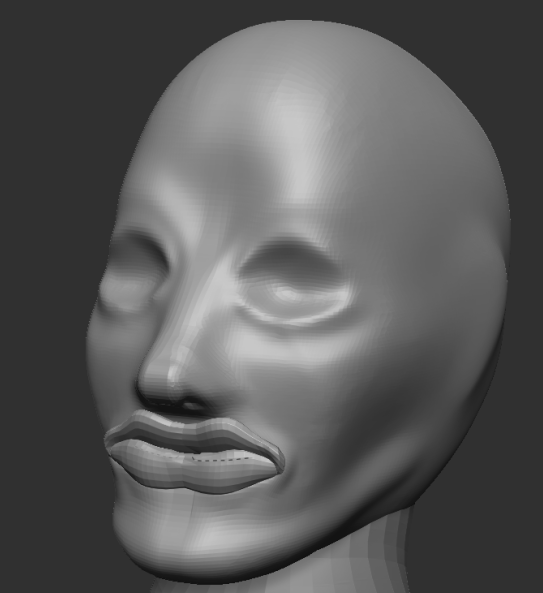
I started by sculpting the nose which turned out better than my first attempt at the nose. I did this by inserting a capsule shape onto the existing sphere using the IMM primitives brush. I then began using the move brush to move parts of the nose in place with the face. Using the curve tube brush together with the move tool, I made the surrounding parts of the eye such as the eyelids, eyebrow muscles, and the beginning of the cheeks. Subsequently, I dynameshed the nose and curve tube brushes (at 256 resolution) onto the face and began working it into the face structure using a variety of different brushes, especially the smooth brush. After the nose was on the face, I used the dam standard brush to make grooves for the nostrils
When I completed this process, I approved the initial modeling and began working further on the eyelids and surrounding areas.


After sculpting the eyelids using the curve tube brush together with the move brush and smooth brush, I inserted a temporary sphere for the eye placeholder. Once I was happy with the eyes, I then moved on to building the mouth, again by using the curve tube brush. This time, I used an IMM primitives sphere to subtract from the face to allow a gap for the mouth to go.

However, once I added the lips, I wasn’t impressed with their shape. To allow for a change of pace, I began modeling the rest of the body.
