3D Character Design | Development Log 7

First I modeled the boots which were pretty easy to do. To begin modeling, I masked the area I wanted the boots to fit around the foot and duplicated it onto another sub tool. Then, I extruded it using the inflate tool to bring it away from the leg. Using the snake hook brush, I dragged the front down where the character would tighten the boots. I went with this style to make it look like the character had made them to give it a more makeshift look.

I used the same method to begin modeling the trousers. Then using the path brush, I chose the crosses tool and started experimenting with ways to make the trousers look more realistic. I eventually went with the idea to add a belt and buckle which was in-built into the Zbrush brush selection and made the cross stitches bigger.


topless so the scales at the neck and shoulders would be visible. However, after some experimenting, I decided to add a bra-type but make the straps small so the scales were still visible.
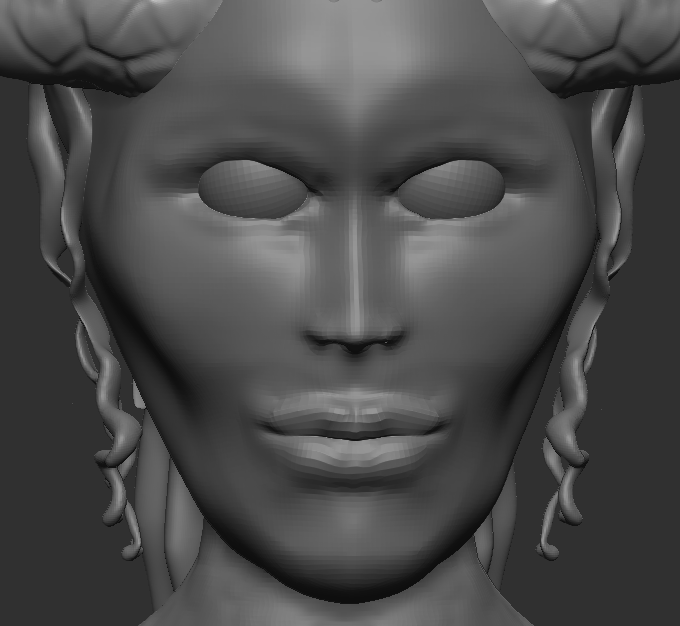
I went back to remodel the lips to make them more realistic, and after some tweaking, I finally got the lips to look right and something I was happy with, whereas before it wasn’t the way that I approved of.

When modeling the bra, I wanted to keep the ‘makeshift’ style, as if the character had made them, themself. After putting the bra on, remodeling the lips, and some tweaking up and down the character, I was finally happy with my model and was ready to start texturing in Substance Painter.
However, in order to export to substance painter, I had to unwrap the UV’s of each subtool by using the UV master tool within Zbrush. Before unwrapping, I made sure each of the subtools was correctly polygroups with each part of the body.
