3D Character Design | Development Log 8
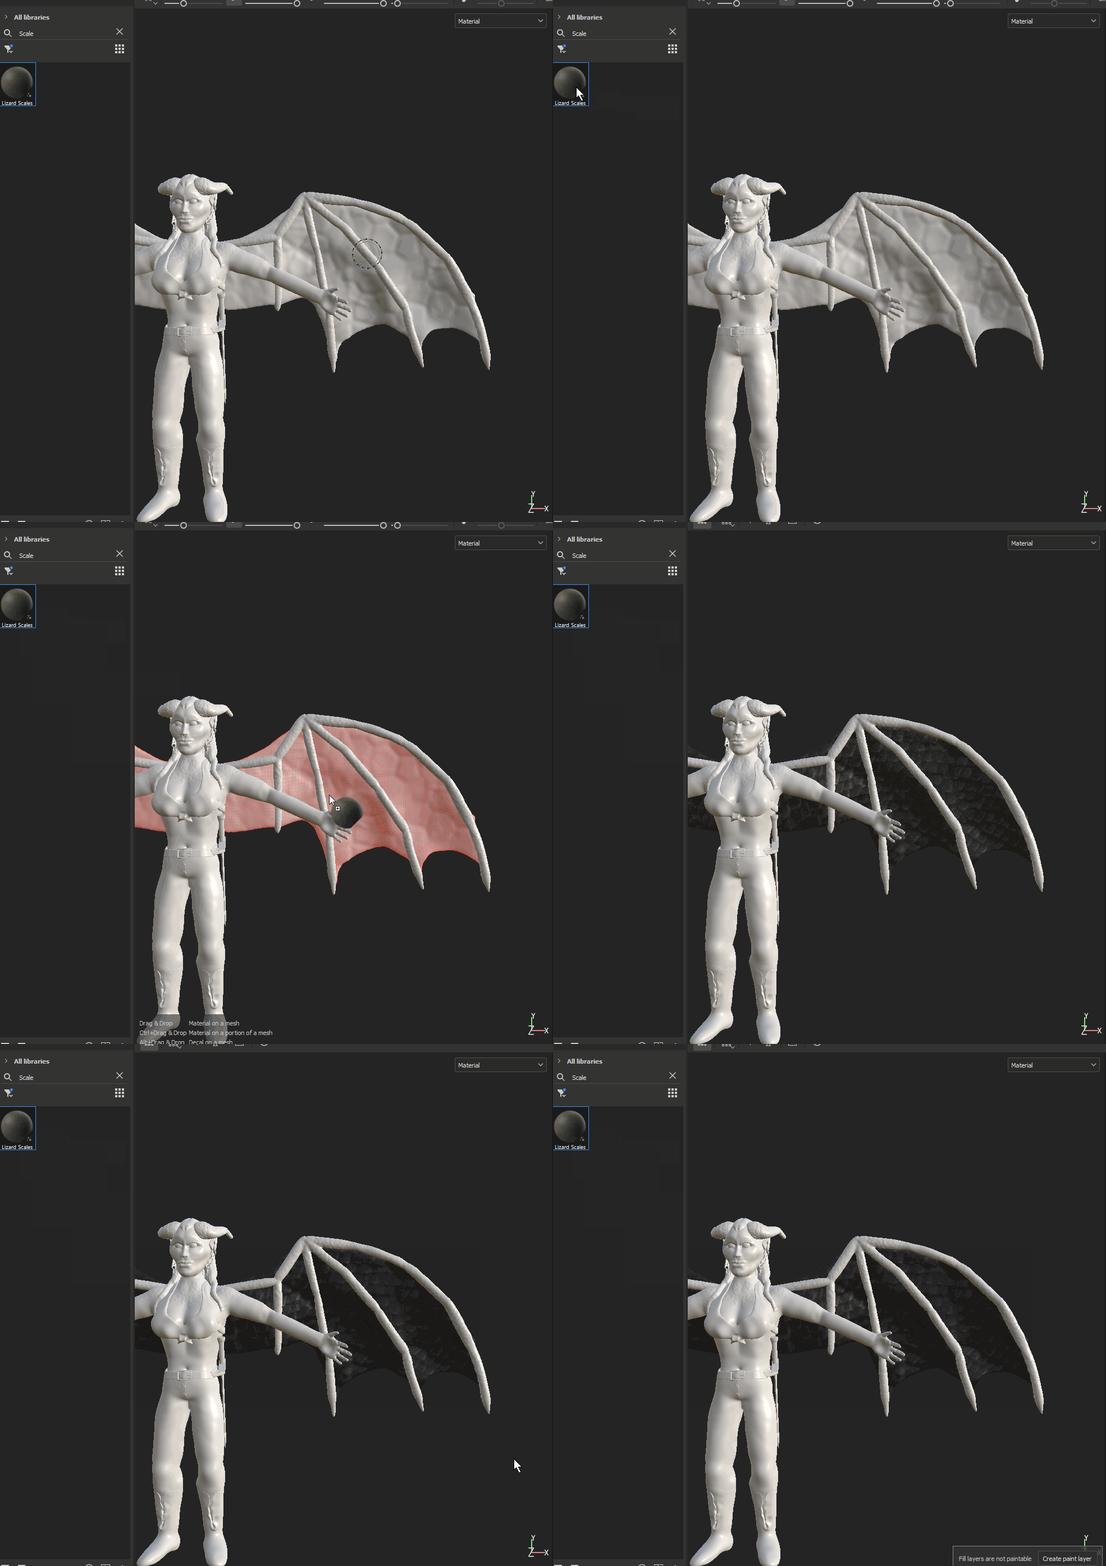
Once I imported my model into Substance Painter I began texturing my model accordingly. Since I had all the parts of my model separate from the rest, it was very easy to texture as I was able to drag and drop textures onto the specific parts of my model. I started with the wings as I was still getting used to using Substance Painter. I was able to use the preset ‘Lizard scales’ and change the colour to a dark shade of grey. I was then later able to use the same texture for the bones but made the texture smaller and darker.
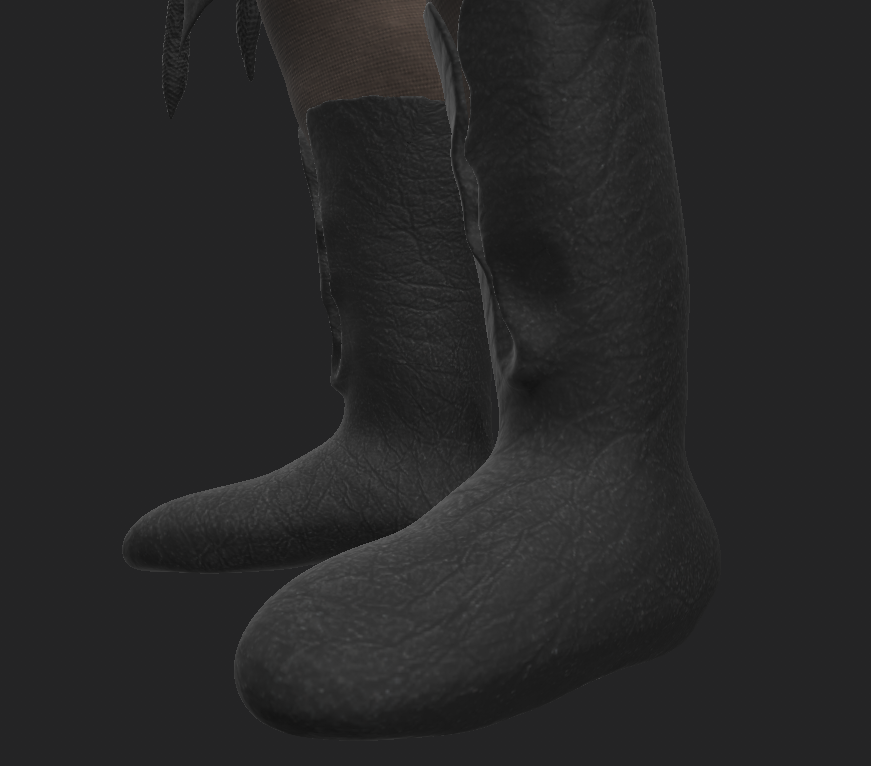
I also used the same texture as I did on the wings, on the horns on the top of the head. I then began working from the bottom up, starting with the boots which I used the ‘leather bag’ texture, and the bottoms I decided to use the ‘Fabric Soft Denim’ texture and made it a light brown to make it stand out from the boots.


I then continued texturing, using various different preset textures found Substance Painter. I also decided to see what the dragon wings would look like if they were a dark shade of purple to give the character some colour. However, when trying this out, I didn’t approve of the results so restored it back to black.
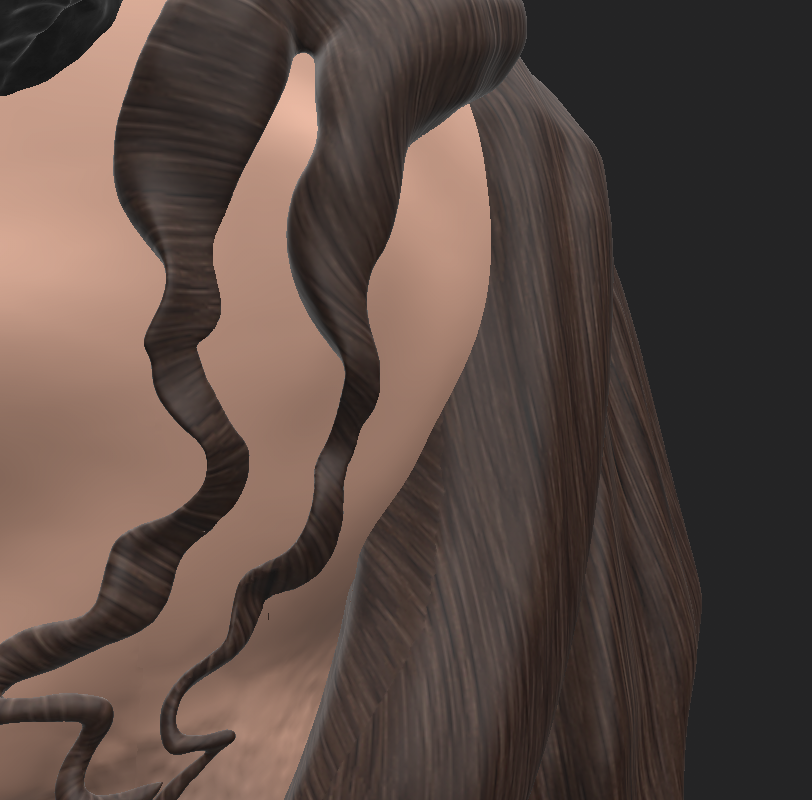
For the hair, there was no specific hair texture, therefore I had to repurpose the ‘wood walnut’ texture and change the colour to a dark brown. I also experimented by making the character’s hair white, black or grey, but brown seemed to work the best with the colour palette I had chosen.
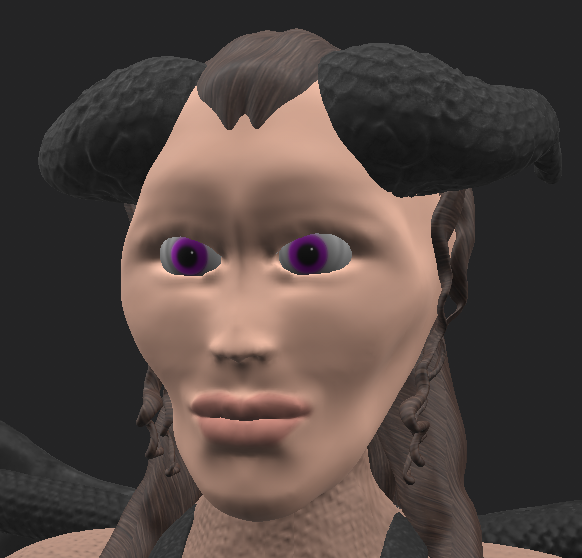
For the face, I changed the colour of the texture I had used for the skin to peach for natural lip colour. For the eyes, I trialled a number of different designs including dragon eyes which didn’t suit the character’s face in my opinion, therefore I went with a generic human eye structure, with the fictionary purple eye colour to give it a more unique design.
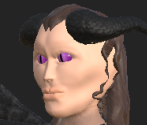
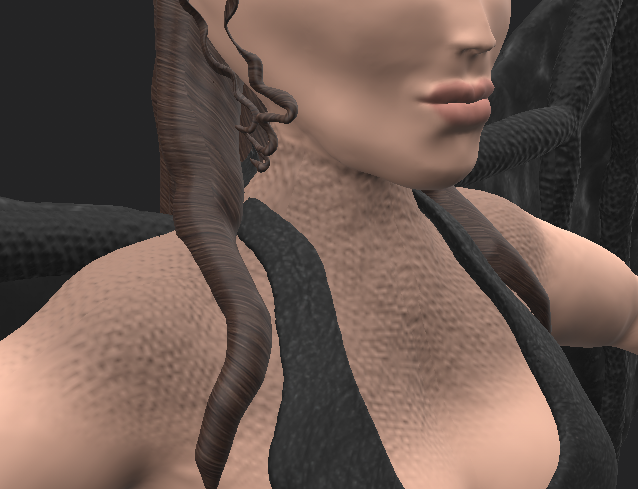
For the scaly bleeding on the neck and back, I used the same black scales I had used on the horns and wings but turned the opacity down so it wasn’t as prominent and was only a subtle detail
Once I had finished texturing the body and clothes, the character looked a little empty still, therefore I decided to model a sword using Zbrush hard surface modelling which didn’t take me long to find a design I was happy with. I still wanted to keep the ‘makeshift’ aesthetic so made the sword very simple and not complex.

With the sword modelled and textured, I added a simple belt loop in which the sword can be placed through on the characters belt.

After completing the texturing I was ready to render the final images and turntable.
