Mug 3D Model
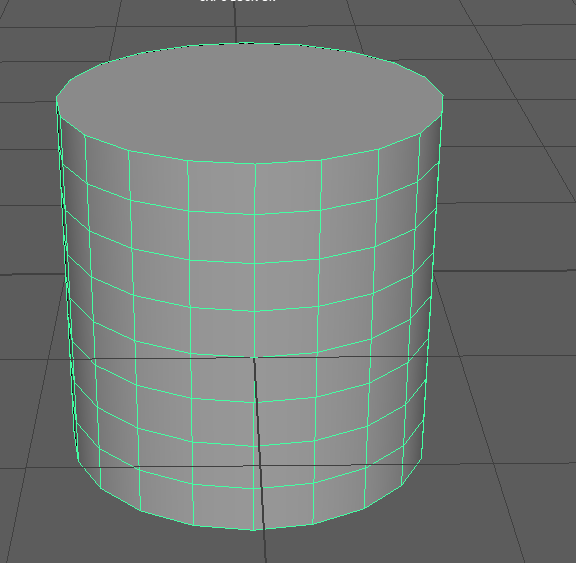
Firstly, to create my 3D model of a mug, I inserted a Cylinder. Then I resized the cylinder to allow me to have a better view of the shape’s vertices and faces. I then changed the subdivide height to 8 which divides the cylinder into 8 equal pieces. I then changed the top subdivide to 0 so I can removed the top face.
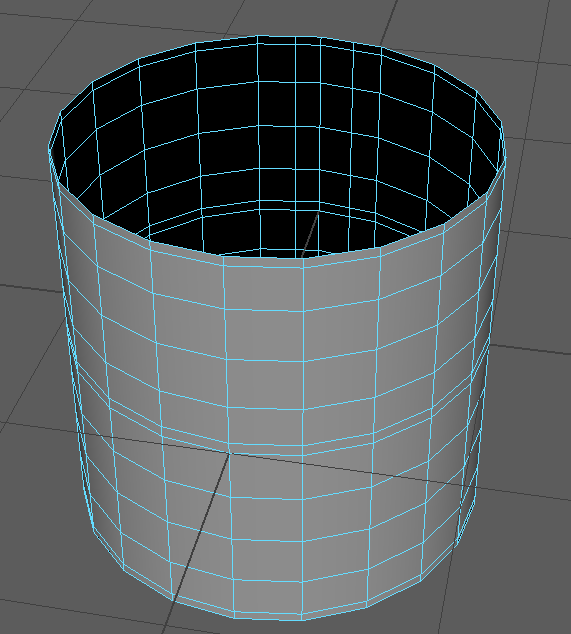
After I subdivided the cylinder, I removed the top face to make it hollow. I then added another subdivide to the top and bottom to create a more bevelled edge
so that when I go into the smooth view the
top and bottom will turn out more smooth
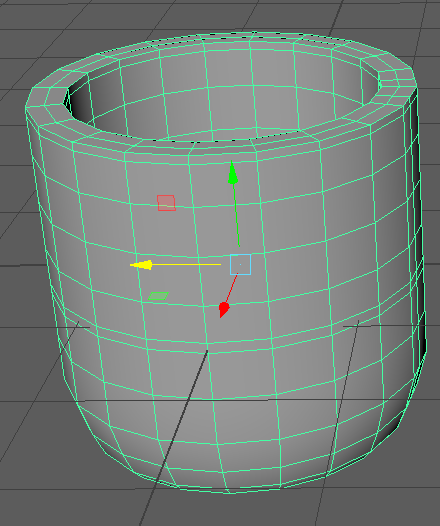
After I moved the vertices at the bottom of the mug, I extruded the cylinder out 0.1 to get the depth of a mug. I experimented with different thicknesses
and found that 0.1 worked the best.
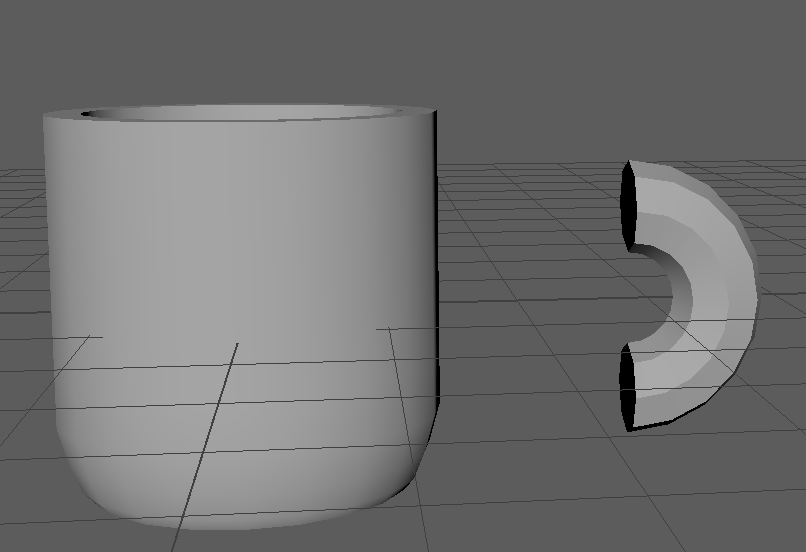
I then inserted a torus and rotated it to the cylinder. After that I went into side view and selected all the faces on the left side of the torus to leave me
with half.
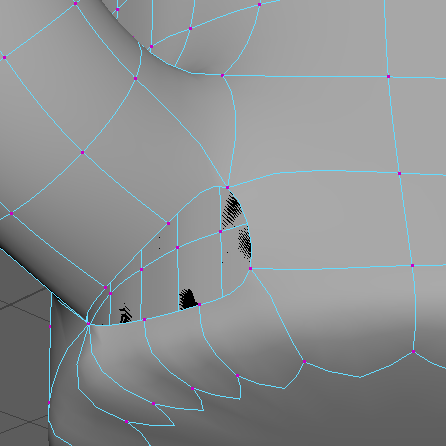
I moved the half Torus closer to the cylinder. When I merged both the torus and cylinder together in the
shape list. I started stitching the two
shapes together by selecting the two
vertices by merging them at center.

I then smoothed the edges using the ‘3’ key on the keyboard. This is the final product of my 3D mug. However, in my opinion the handle is too close to the bottom, and should i do it again, i would move the handle further up.