Rapid Prototype Design – Week 3 (10 Seconds or less)
Introduction
Make a game or application prototype that relates to the theme of ’10 seconds or less’
Idea
For my idea, I decided to use the idea of getting to a ‘checkpoint’ every 10 seconds before the timer would run out and the game would end based around a 2d platformer in the form of a sidescroller. During my game project, I wanted to experiment with numerous different 2D techniques such as tilesets, Parallaxing backgrounds as shown in the video below, and other styles I had not previously tried in other projects.

Development
In my spare time, prior to this week’s theme, I created a tileset using photoshop based around a basic dirt/grass theme as I enjoy working on pixel art.
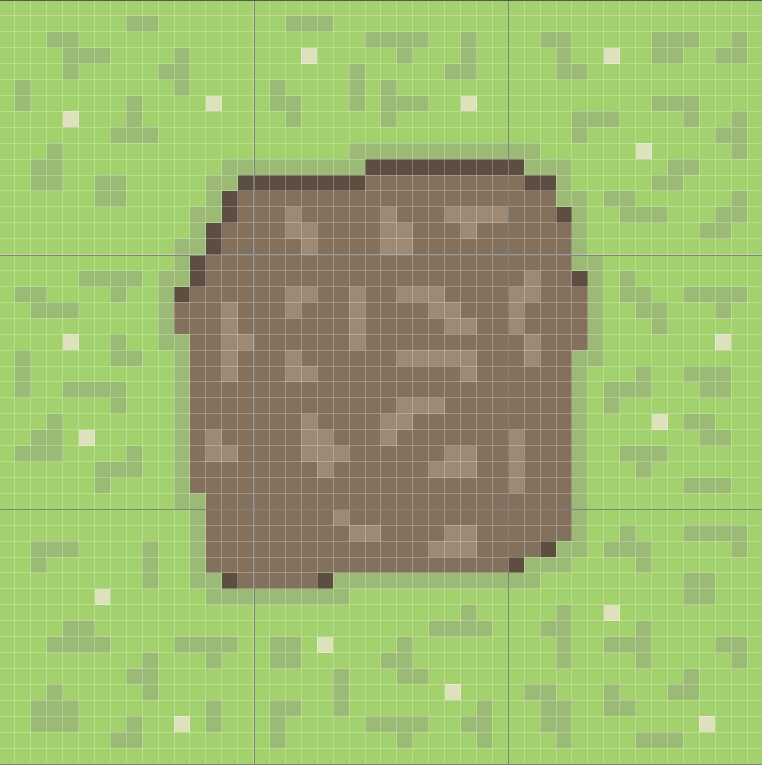
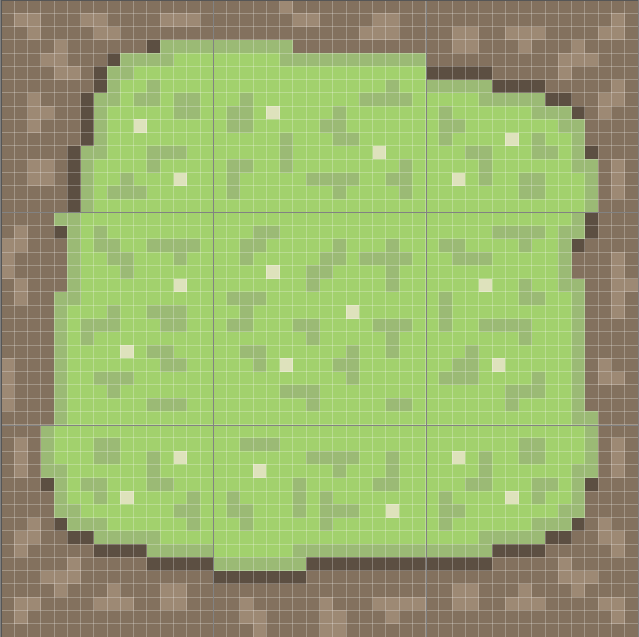
I tried making my tileset as modular as I could by laying out my tiles like this to make sure they could be assembled in any way. By splitting my grid into 3 columns and rows of 16×16 pixels, I was able to design the tiles together, then split them up into 18 different tiles which would be able to create any variation of the platform. Not only will this work for 2D Sidescrollers, but it will also work well in any future projects I do in top-down such as this displayed below
I decided to start by reusing my project from the first week’s theme of ‘fragments’ as I would need most of the code to start my project such as the movement including the ground/jumping part. I edited the hitbox so it looked like the character was on top of the grass rather than on top of the block to add a bit more depth. I’m also planning to implement the parallax background so the bricks are just a placeholder until I complete the main game mechanics and can polish the game at the end.
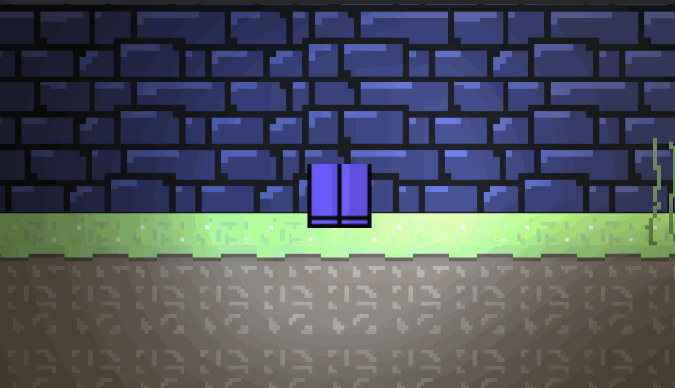
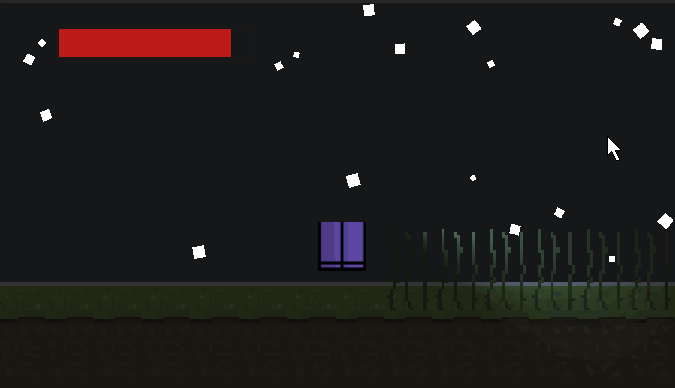
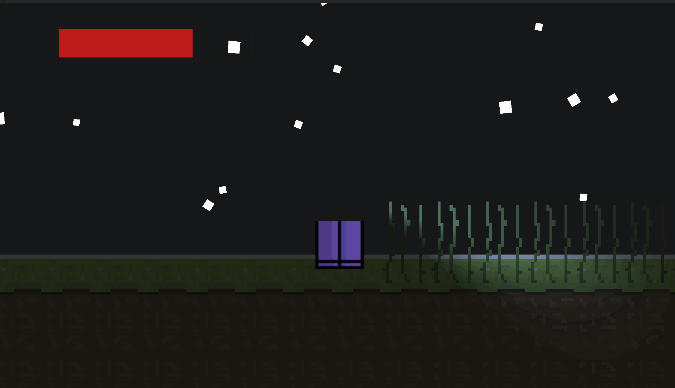
As part of the ‘story’ of the game, the player has 10 seconds to reach the next check point. To add to the story and emersion, I made it so the player would ‘freeze-up’ if they didn’t make it to the safehouse in time which would warm them up and regenerate their health. The code for the health was really simple to implement as I had previously done a similar project last year using IEnumerators and Coroutines. I also used the menu system from the other week’s project and will update the graphics if I have additional time left at the end.
I wanted to experiment with the particle system more as well as expand my knowledge on the lighting system that I experimented with within the first week, with multiple layers. This is the reasoning behind the nighttime snow setting. Inside of the safehouse, I will be adding a campfire that will ‘warm’ the player up.
However, as you can see the lighting needs more work in the house as well as the graphics. With the scripts working to get the player between the two levels, the initial game mechanics work, and the game is playable. All that was left to do for the main game is to duplicate the door and create a few more safe houses along the main level towards the end door.