High Poly Crate
When creating the high poly crate for this week’s task, I found the most difficulty using the sub division tool to create edges on each 3d assets so when they were put into smooth view, it wouldn’t be too round at the edges.
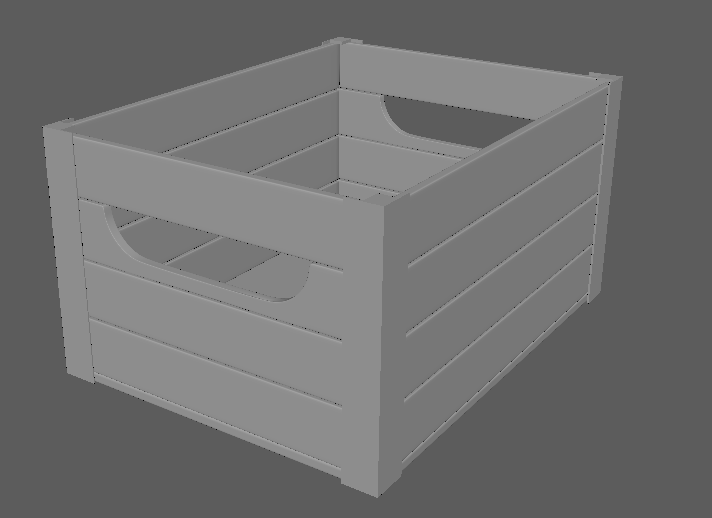
The Making of
Firstly, I put a cylinder into my working space and deleted some faces so I was left with a quarter of a 2d circle. I then extruded each edge out to create the handle you see in the picture above. Using the subdivision tool in Autodesk Maya, I subdivided the edges to give them a bevel so it would appear smoother when it was put into smooth view.
The next step was to make the rest of the planks on the front side. To do this I moved a cube into my working space by holding ctrl to snap to edges of the handle plank. I duplicated it 3 times and moved them into position.
Whilst the front side was grouped, I duplicated this side to create the other handle on the opposite side. I then duplicated this side twice and stretched it out to make each of the other two sides appear longer, rather than a box crate. I selected all the faces of the plain plank, duplicated it and moved it into place of the handle plank which I deleted.
To make the steel bars on the corners of the crate, I inserted a cube and manipulated it by extruding each edge individually to cover the corners of the crate. I then just duplicated it on each corner.